Introduction
Creating a compelling logo is a crucial step in establishing a strong brand identity for your business or project. A well-designed logo can help you stand out from the competition and make a lasting impression on your target audience. In this step-by-step guide, we will walk you through the process of creating a logo from concept to completion.
Step 1: Define Your Brand Identity
Before you start designing your logo, you need to have a clear understanding of your brand’s identity. Ask yourself these questions:
– What does your brand represent?
– Who is your target audience?
– What are your brand values and mission?
– What sets you apart from your competitors?
Having a solid grasp of your brand’s identity will help you create a logo that effectively communicates your message.
Step 2: Research and Inspiration
Start by researching your industry and competitors. Look at their logos to identify common design elements and trends. This will help you determine what works and what doesn’t in your niche.
Gather inspiration from various sources such as design books, websites like Pinterest, or even art galleries. Create a mood board with images, colors, and fonts that resonate with your brand’s identity.
Step 3: Sketch Your Ideas
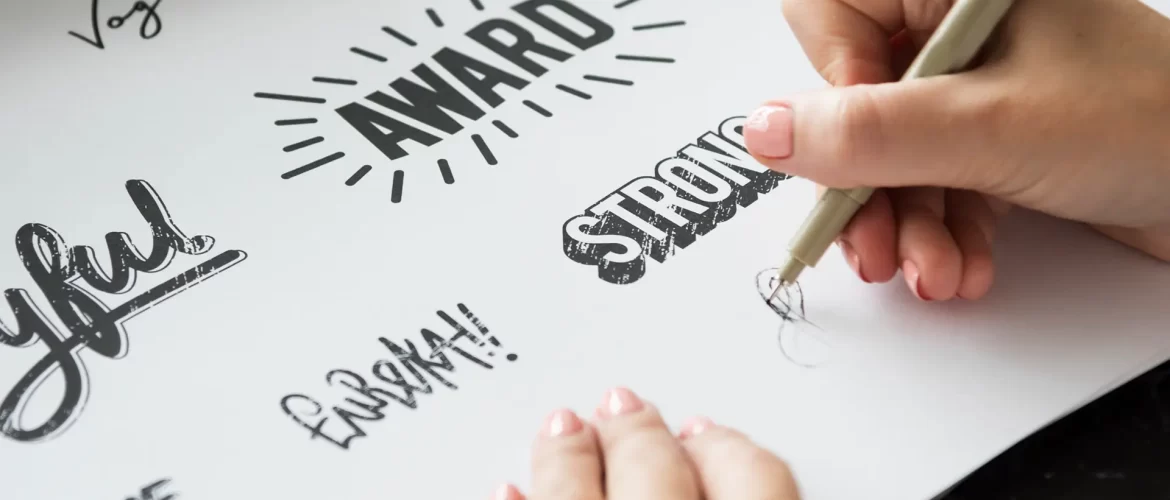
Now it’s time to put your creative ideas on paper. Grab a sketchbook and start brainstorming logo concepts. Don’t worry about perfection at this stage; focus on getting your ideas down. Experiment with different shapes, symbols, and text arrangements.
Step 4: Choose the Right Type of Logo
Logos can take various forms:
Wordmark: A text-based logo using your brand’s name.
Lettermark: A logo made up of the initials or acronym of your brand.
Pictorial/Iconic: A logo using a symbol or image that represents your brand.
Combination: A mix of text and symbol/icon.
Consider which type aligns best with your brand identity and message.
Step 5: Digitalize Your Concept
Once you have a rough idea on paper, it’s time to digitize your concept. You can use graphic design software like Adobe Illustrator or even free tools like Canva. Create digital versions of your sketches, and start refining your design.
Step 6: Play with Colors and Fonts
Select colors that represent your brand’s personality and resonate with your target audience. Choose fonts that are legible and align with your brand identity. Experiment with different combinations until you find the perfect match.
Step 7: Test for Scalability
Your logo should look great whether it’s on a business card or a billboard. Test your logo’s scalability by resizing it to different dimensions. Make sure it remains clear and recognizable at all sizes.
Step 8: Get Feedback
Share your logo designs with friends, colleagues, or your target audience to gather feedback. Constructive criticism can help you refine your design and catch any potential issues.
Step 9: Finalize Your Logo
Based on the feedback received, make necessary adjustments to your logo. Ensure that it aligns with your brand identity and effectively communicates your message.
Step 10: Protect Your Logo
Consider trademarking your logo to protect it from unauthorized use. Consult with a legal professional to understand the trademarking process in your jurisdiction.
Step 11: Use Your Logo
Once your logo is finalized, start using it across all your branding materials – business cards, website, social media profiles, packaging, etc.
Remember that a logo is just one part of your brand’s identity. Consistency in branding is key, so ensure that your logo aligns with your overall brand strategy and values.
Creating a logo is a creative process, so don’t rush it. Take the time to develop a design that truly represents your brand and resonates with your audience.


Leave A Comment